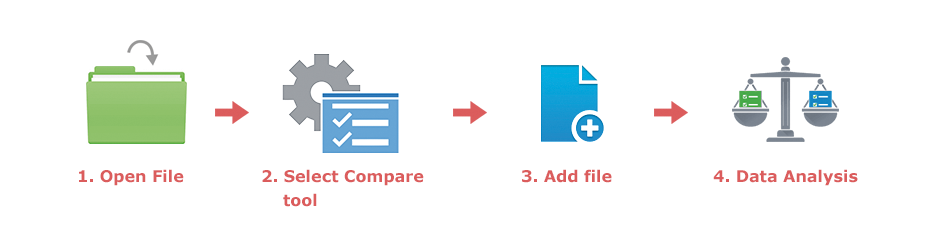
Comparing raw data with CI Hex Viewer
Comparison of raw data is one of the most important tasks during deep data analysis. Several similar files, files before and after modifications and even fragments of the same data storage are subject of examination for differences. The comparative analysis of raw data can be essential for data recovery as well, and above all, for manual reconstruction of the whole storages, e.g. RAID. |
 |
The process of raw data comparison includes the following steps:

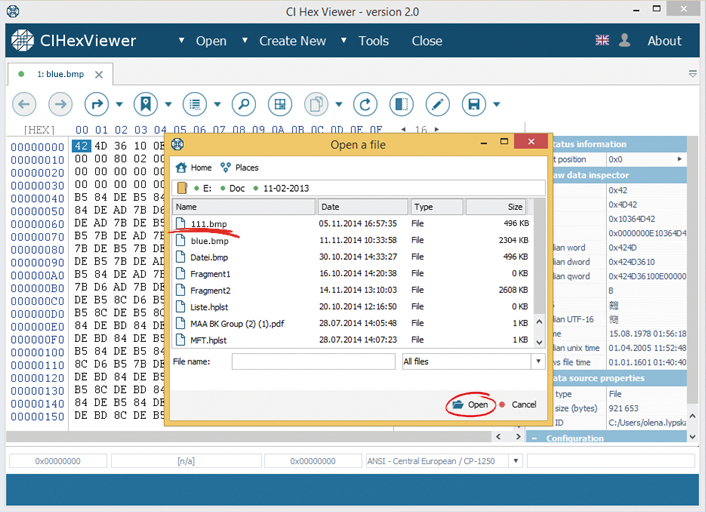
We load two files we are going to compare in the program. To do this we press Open and choose the necessary files.


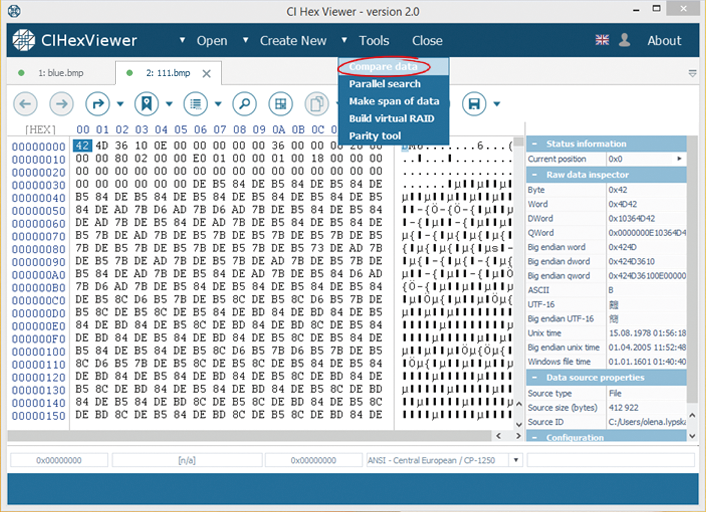
We start the Data Comparison tool in the program. To do this we press Tools and choose Compare data from the drop-down menu.

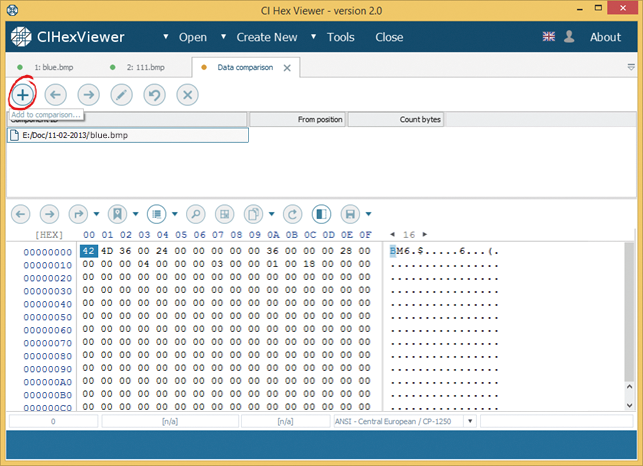
We open both files into the data comparison tool. To do this we press Add to comparison from the tool bar.

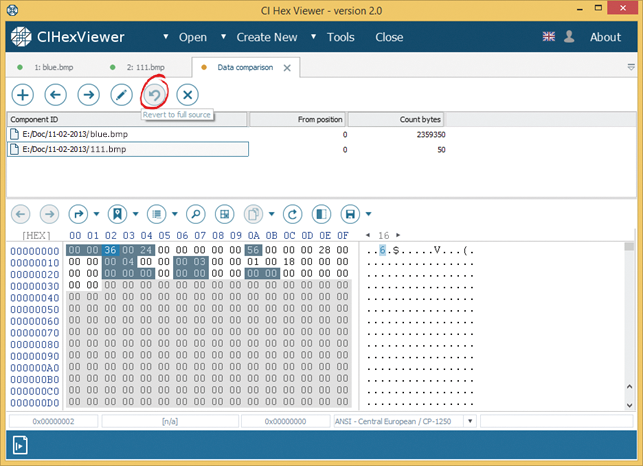
Now we can proceed to data analysis. The software highlights all differences found in comparison components with dark grey.
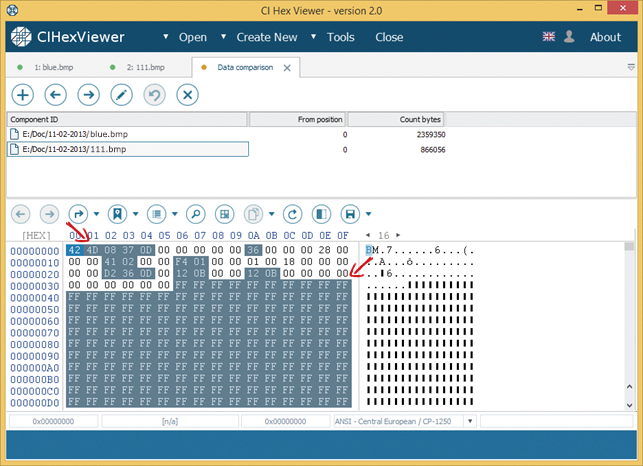

We only need the bitmap to compare the state of one .bmp file with the other. For this reason we pick the area from offset 0x00 to 0x32 (50 first bytes). The remaining data area can be hidden in the program. To hide the excessive area we press Edit component and set the data range we want to work with.


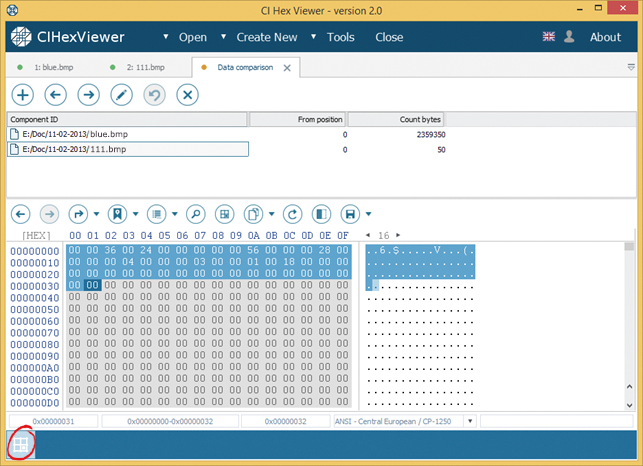
We can also reduce the data area by setting a selection. To hide the area beyond the bitmap we select the range from 0x00 to 0x32 and press Compare only this fragment on the bottom of the software window.

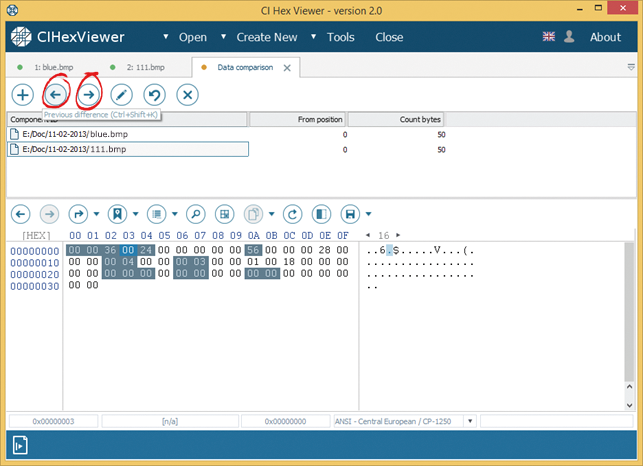
With the arrows Previous difference and Next difference we can move the cursor forwards and backwards on the found differences.

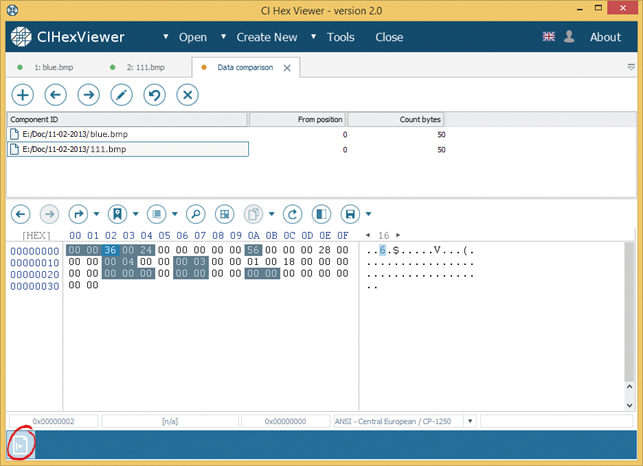
After analyzing the file identifier, we don’t need the first two bytes for further analysis and we can reduce the data comparison area once again by these two bytes. To do this we place the cursor to the third byte and press Compare this component from here on the bottom of the software window for both comparison components.

After we have finished the analysis of the bitmap, we open the whole data area in the files. To do this we press Revert to full source.
Summary:
The differences of hexadecimal values were found in the file identifier. We can see that the first two bytes of the corrupted file were deleted. After necessary modifications, the file can be easily recovered. Further differences in the bitmap of two files (file size, start of image data, resolution etc.) are specific for each of the files and are not helpful for file recovery.